Introduction
With ML platforms like TensorFlow one can quickly achieve impressive results, especially when using even small pre-trained models like MobileNetV2 for image classification or BERT for Natural Language Processing. However, depending on the use case typical CPUs are not suited well for real-time inference, such as object detection in a video stream or recognition of human speech. GPUs have superior performance, but are scarcly available: Either you need a powerful and bulky Desktop PC with an expensive GPU device or you can only rely on cloud-based GPU machines. Both varieties are not an appropriate solution for typical edge computing use cases. Some examples:
- Object tracking on video streams security cameras (track people or animals lurking around your house)
- Pose estimation for remote control (wave to a camera to snap a photo)
- Keyphrase detection (like i.e. Siri, but air-gapped ithout a cloud service)
For purposes like edge inferencing, Google developed an Tensor Processing ASIC for the masses capable of nothing else than inferencing TensorFlow Neural Network Models, but it’s doing this FAST! An example: For the popular MobileNet v2 model, inferencing is nearly 20x faster than with a typical Intel Xeon® Gold 6154 server CPU.
TPUs have also been used in the AlphaGo project:
AlphaGo Zero’s neural network was trained using TensorFlow, with 64 GPU workers and 19 CPU parameter servers. Only four TPUs were used for inference.
AlphaGo Zero – Wikipedia
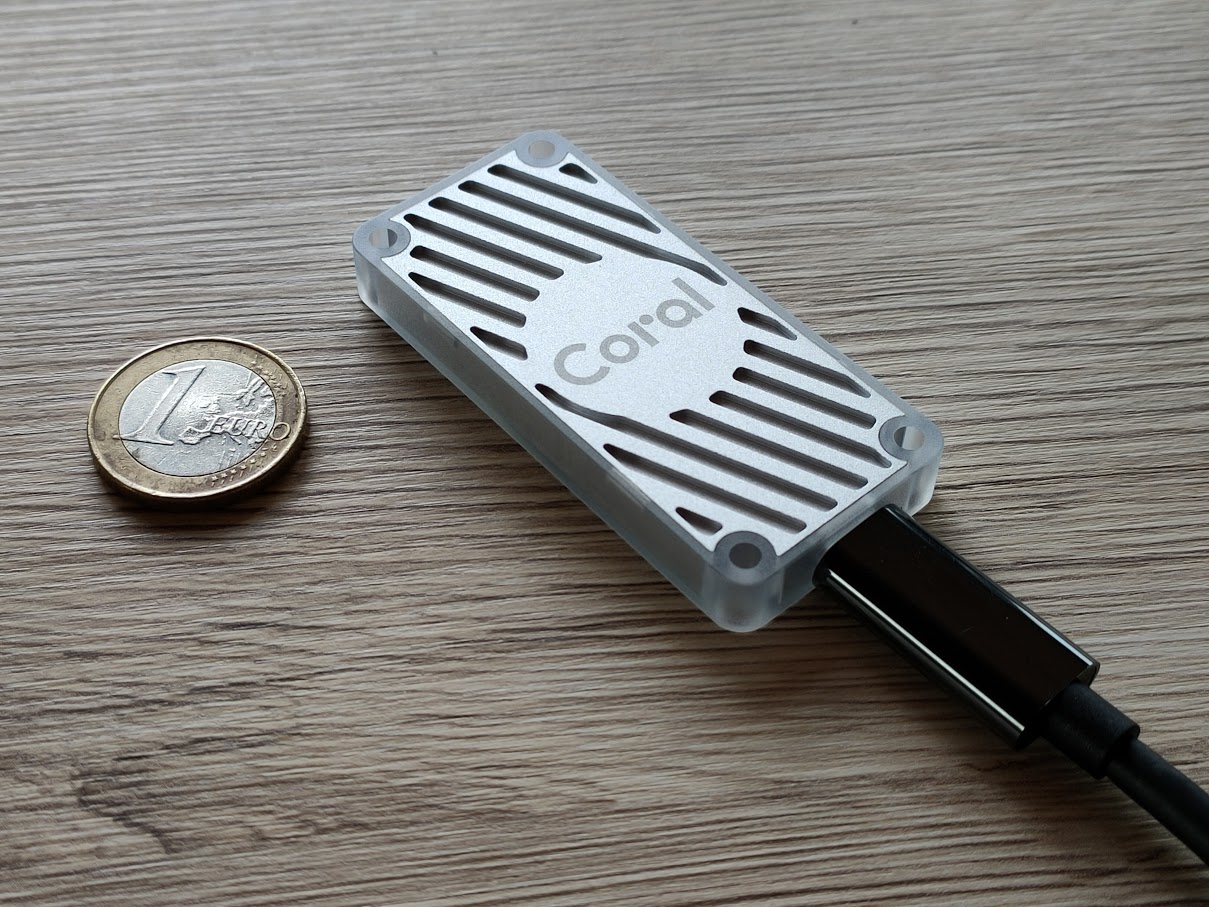
For educating yourself and develop solutions, the Google Coral project sells a TPU coprocessor USB device. A laptop with an USB 3.0 interface is enough to make use of TPU power.
Install Prerequisites
Python 3
Install Python 3 on your Windows system, if you don’t have a supported version installed. At the time off writing this post, Python 3.5 – 3.8 are supported.
Caution: I tested the setup using Python 3.9.5 in which I failed miserably, because for Python 3.9, there is no suitable pycoral package yet available. Unfortunately, if no pycoral package for the present Python version is found, a very old version is picked for download, which will not work with the new sample codes we want to test out today.
So the lesson here is: Install a supported Python version! For me it is 3.8.3. Please check for the latest supported version by yourself at the time of using this guide. Also ensure that Python is added to the PATH by the installer.
Edge TPU Runtime
I followed the installation instruction which included installing Microsoft Visual C++ 2019 redistributable, a reboot and subsequently installing the Edge Runtime package from the downloaded ZIP file by executing the install.bat script. During installation, the script asks whether to enable “maximum operating frequency”, which I declined to avoid frying my newly purchased USB accelerator.
Notice: As the installer executed by install.bat will install a USB driver, you may not be able to use your other USB devices for a few seconds (like a mouse or keyboard attached via USB).
Git & Git Bash
We will need git to pull the sample code from Github. For most people a commodity, it may still have to be installed on your device.
The sample scripts provided by Google are Shell scripts, thus we’ll need a Bash on our Windows system. Google recommends using the WSL (Windows Subsystem for Linux), but I am using the Gitbash, which is included in Git for Windows.
PyCoral
The PyCoral API is the default API to communicate with the TPU device in Python, which can be installed using pip. On my Windows laptop I had to use the Python Launcher for Windows (alias py) instead of the python3 command. Following command on the Gitbash worked for me:
py -m pip install --extra-index-url https://google-coral.github.io/py-repo/ pycoral
Now we are ready to play around with the Coral TPU.
Running a Sample Inference Fom Command Line
Open a Gitbash and navigate to a folder dedicated for the Coral experiements:
mkdir coral
cd coral
git clone https://github.com/google-coral/pycoral.git
cd pycoral
Now we need to execute a cript that will download some test data for us to be able to use the TPU for some actual inference tasks:
bash examples/install_requirements.sh classify_image.py
This will download:
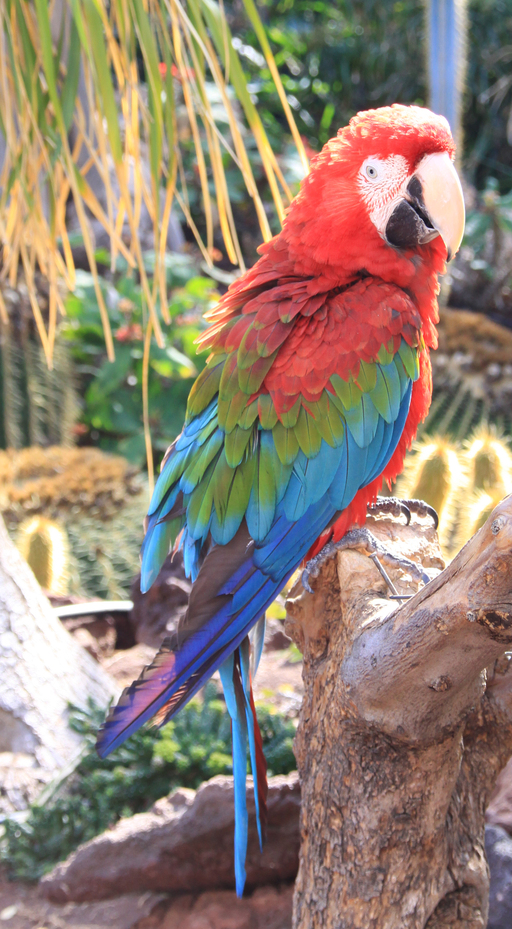
- a sample JPEG image of a parrot.
- a MobileNetv2 based model, pre-trained for classifying bird species.
- a list of labels mapping integers to names of birds.
By the way: “The scarlet macaw (Ara macao) is a large red, yellow, and blue Central and South American parrot, a member of a large group of Neotropical parrots called macaws.” (Wikipedia)
Heads up: Before testing the classification, do not forget to plugin the TPU USB accelerator into one of your USB 3.0 ports.
Let’execute the inference for the parrot’s photo:
py examples/classify_image.py \
    --model test_data/mobilenet_v2_1.0_224_inat_bird_quant_edgetpu.tflite \
    --labels test_data/inat_bird_labels.txt \
    --input test_data/parrot.jpg
The output:
----INFERENCE TIME----
Note: The first inference on Edge TPU is slow because it includes loading the model into Edge TPU memory.
14.2ms
5.6ms
5.3ms
4.7ms
4.4ms
-------RESULTS--------
Ara macao (Scarlet Macaw): 0.75781
Great! We just made the TPU identify the parrot’s species “Ara macao (Scarlet Macaw)”. The model returns a confidence score of 0.75781, so roughly of 75% confidence.
I want to test this for another bird species. The file test_data/inat_bird_labels.txt shows which other bird types the model is also capable of identifying. I want to test this with the “Tadorna tadorna” – the “Common Shelduck” or “Brandgans” in German, using a photo from Wikipedia.
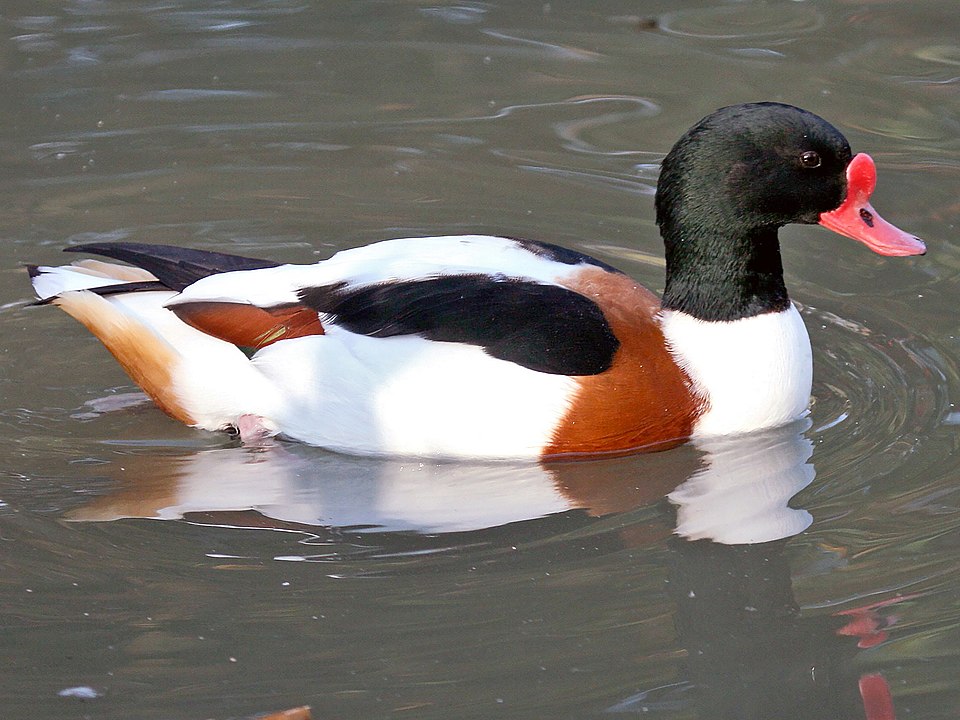
I downloaded the photo in the test_data folder, so that I only have to adjust the file name for the --input parameter. Let’s try this:
py examples/classify_image.py \
    --model test_data/mobilenet_v2_1.0_224_inat_bird_quant_edgetpu.tflite \
    --labels test_data/inat_bird_labels.txt \
    --input test_data/tadorna_tadorna.jpg
And we get …
Tadorna tadorna (Common Shelduck): 0.95703
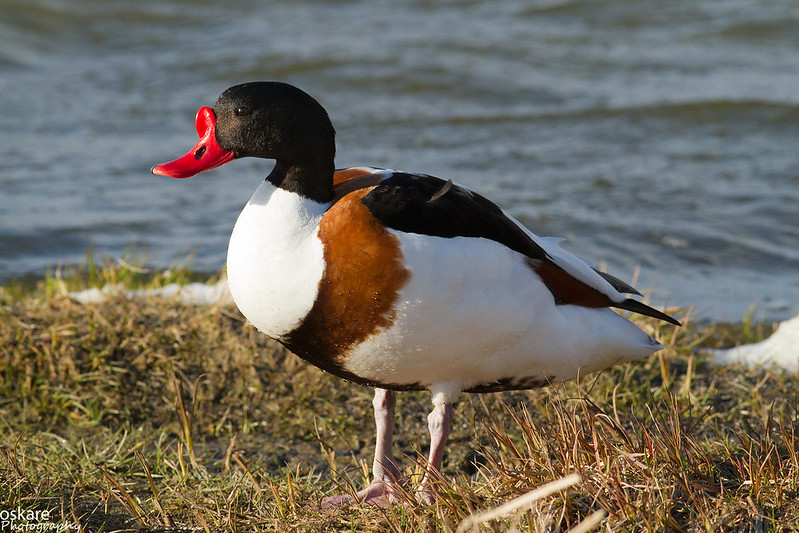
Amazing, it worked! I took this picture from Wikipdia. My guess is that this photo could be part of the training data set of our used model. I want to validate this with a nther picture of the “Brandgans”:
py examples/classify_image.py \
    --model test_data/mobilenet_v2_1.0_224_inat_bird_quant_edgetpu.tflite \
    --labels test_data/inat_bird_labels.txt \
    --input test_data/tadorna_tadorna2.jpg
Also looks good:
Tadorna tadorna (Common Shelduck): 0.80469
We cannot assume that a model will only inference on classes it will find with a high confidence score. The model at hand was specificially trained for birds, but not for other animals. So what will happen if we feed this “bird-trained” model a picture of an “African Bush Elephant”?
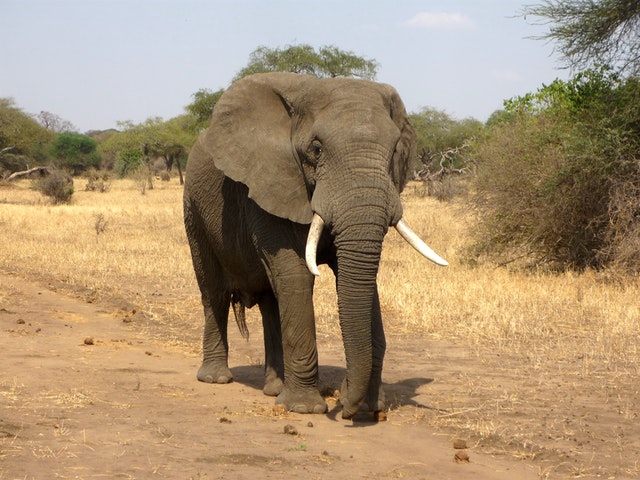
py examples/classify_image.py \
    --model test_data/mobilenet_v2_1.0_224_inat_bird_quant_edgetpu.tflite \
    --labels test_data/inat_bird_labels.txt \
    --input test_data/african_bush_elephant.jpg
As I expected, it will match with a bird species, but only with a very low confidence score:
Tyto alba (Barn Owl): 0.07031
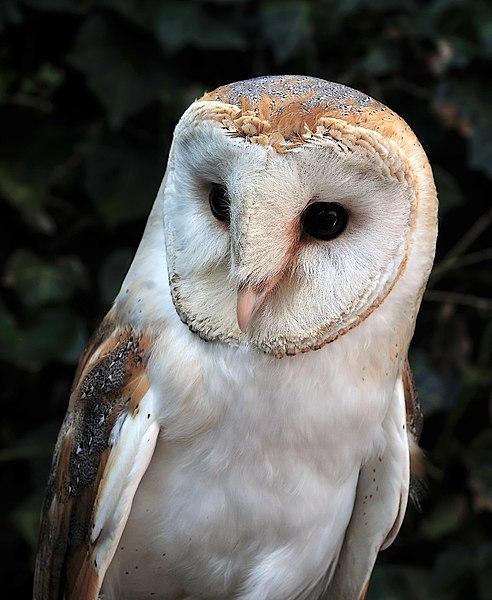
This outcome is actually quiet interesting. The model only knows birds, so it says the picture looks like a “Tyto alba” (in German: “Schleiereule”). Looking at the face of this owl species one can assume that the model interprets the elephant’s trunk as the owl’s beak.
In a real world scenario we should perform this kind of “blind test” for several possible types of objects that are not covered by the model’s training data set. With a few data points one should soon be able to define a fixed threshold for the confidence score that must be exceeded to actually return a bird species instead of “unknown”.
Conclusions
These are just the first baby steps with the USB TPU coprocessor. In my next posts I want to advance and use the device for real-time object detection to leverage the compute power of the TPU ASIC.
On installation of the Coral TPU driver I opted for standard frequency. Still, the USB device produced a considerable amount of heat, in a kind of way that you could warm your hands on a cold winter day. I would not want to imagine how warm the device gets if you would choose the maximum performance model. Google explicitly warns you about not giving an warranties here – that says it all to me.
A major part of the inference times above is caused by the way we use the TPU: Each time the Pythin script is executed, the model is frshly loaded onto the TPU device. I hope to get around this when running inferences from within a Jupyter notebook or for real-time use cases.
If you’re looking at purchasing the USB accelerator, check out the coral.ai website. It shouldn’t cost you more than 70€.
That’s it for today – see you next time!
Image sources for this page:
- Tadorna tadorna: Wikipedia
- Tadorna tadorna: Óskar Elías Sigurðsson on Flickr
- African Bush Elephant: pexels.com
2 Comments
This post of yours was a life-saver for me! I have just bought the Google Coral and couldn’t get it working on Windows 11 until I followed your instructions.
Great to here that my post was helpful to you!